
| 일 | 월 | 화 | 수 | 목 | 금 | 토 |
|---|---|---|---|---|---|---|
| 1 | 2 | 3 | ||||
| 4 | 5 | 6 | 7 | 8 | 9 | 10 |
| 11 | 12 | 13 | 14 | 15 | 16 | 17 |
| 18 | 19 | 20 | 21 | 22 | 23 | 24 |
| 25 | 26 | 27 | 28 | 29 | 30 | 31 |
- 20164번
- 백준
- 센서
- 2212
- leetcode329
- 크게만들기
- IOS개발기
- iOS개발
- 릿코드
- LongestIncreasingPathinaMatrix
- 리트코드
- IOS도전기
- 15684
- 백준문제
- 백죽
- stack문제
- 329번
- 프로그래머스
- 백준알고리즘
- 2212번
- 사다리조작
- IOS도전
- IOS입문
- 2812번
- 홀수홀릭호석
- BOJ
- dataframe
- iOS앱개발
- leetcode
- 329
- Today
- Total
알고리즘 풀어주는 블로그
IOS 앱 개발하기 - 3일차 : 로그인 화면 만들기 (storyboard) 본문
✓ 오늘의 목표
- 로그인 화면 구현
- 이메일, 패스워드 입력 형식 오류 시 알람창 띄우기
- button, textfield, label 속성 커스텀 하기
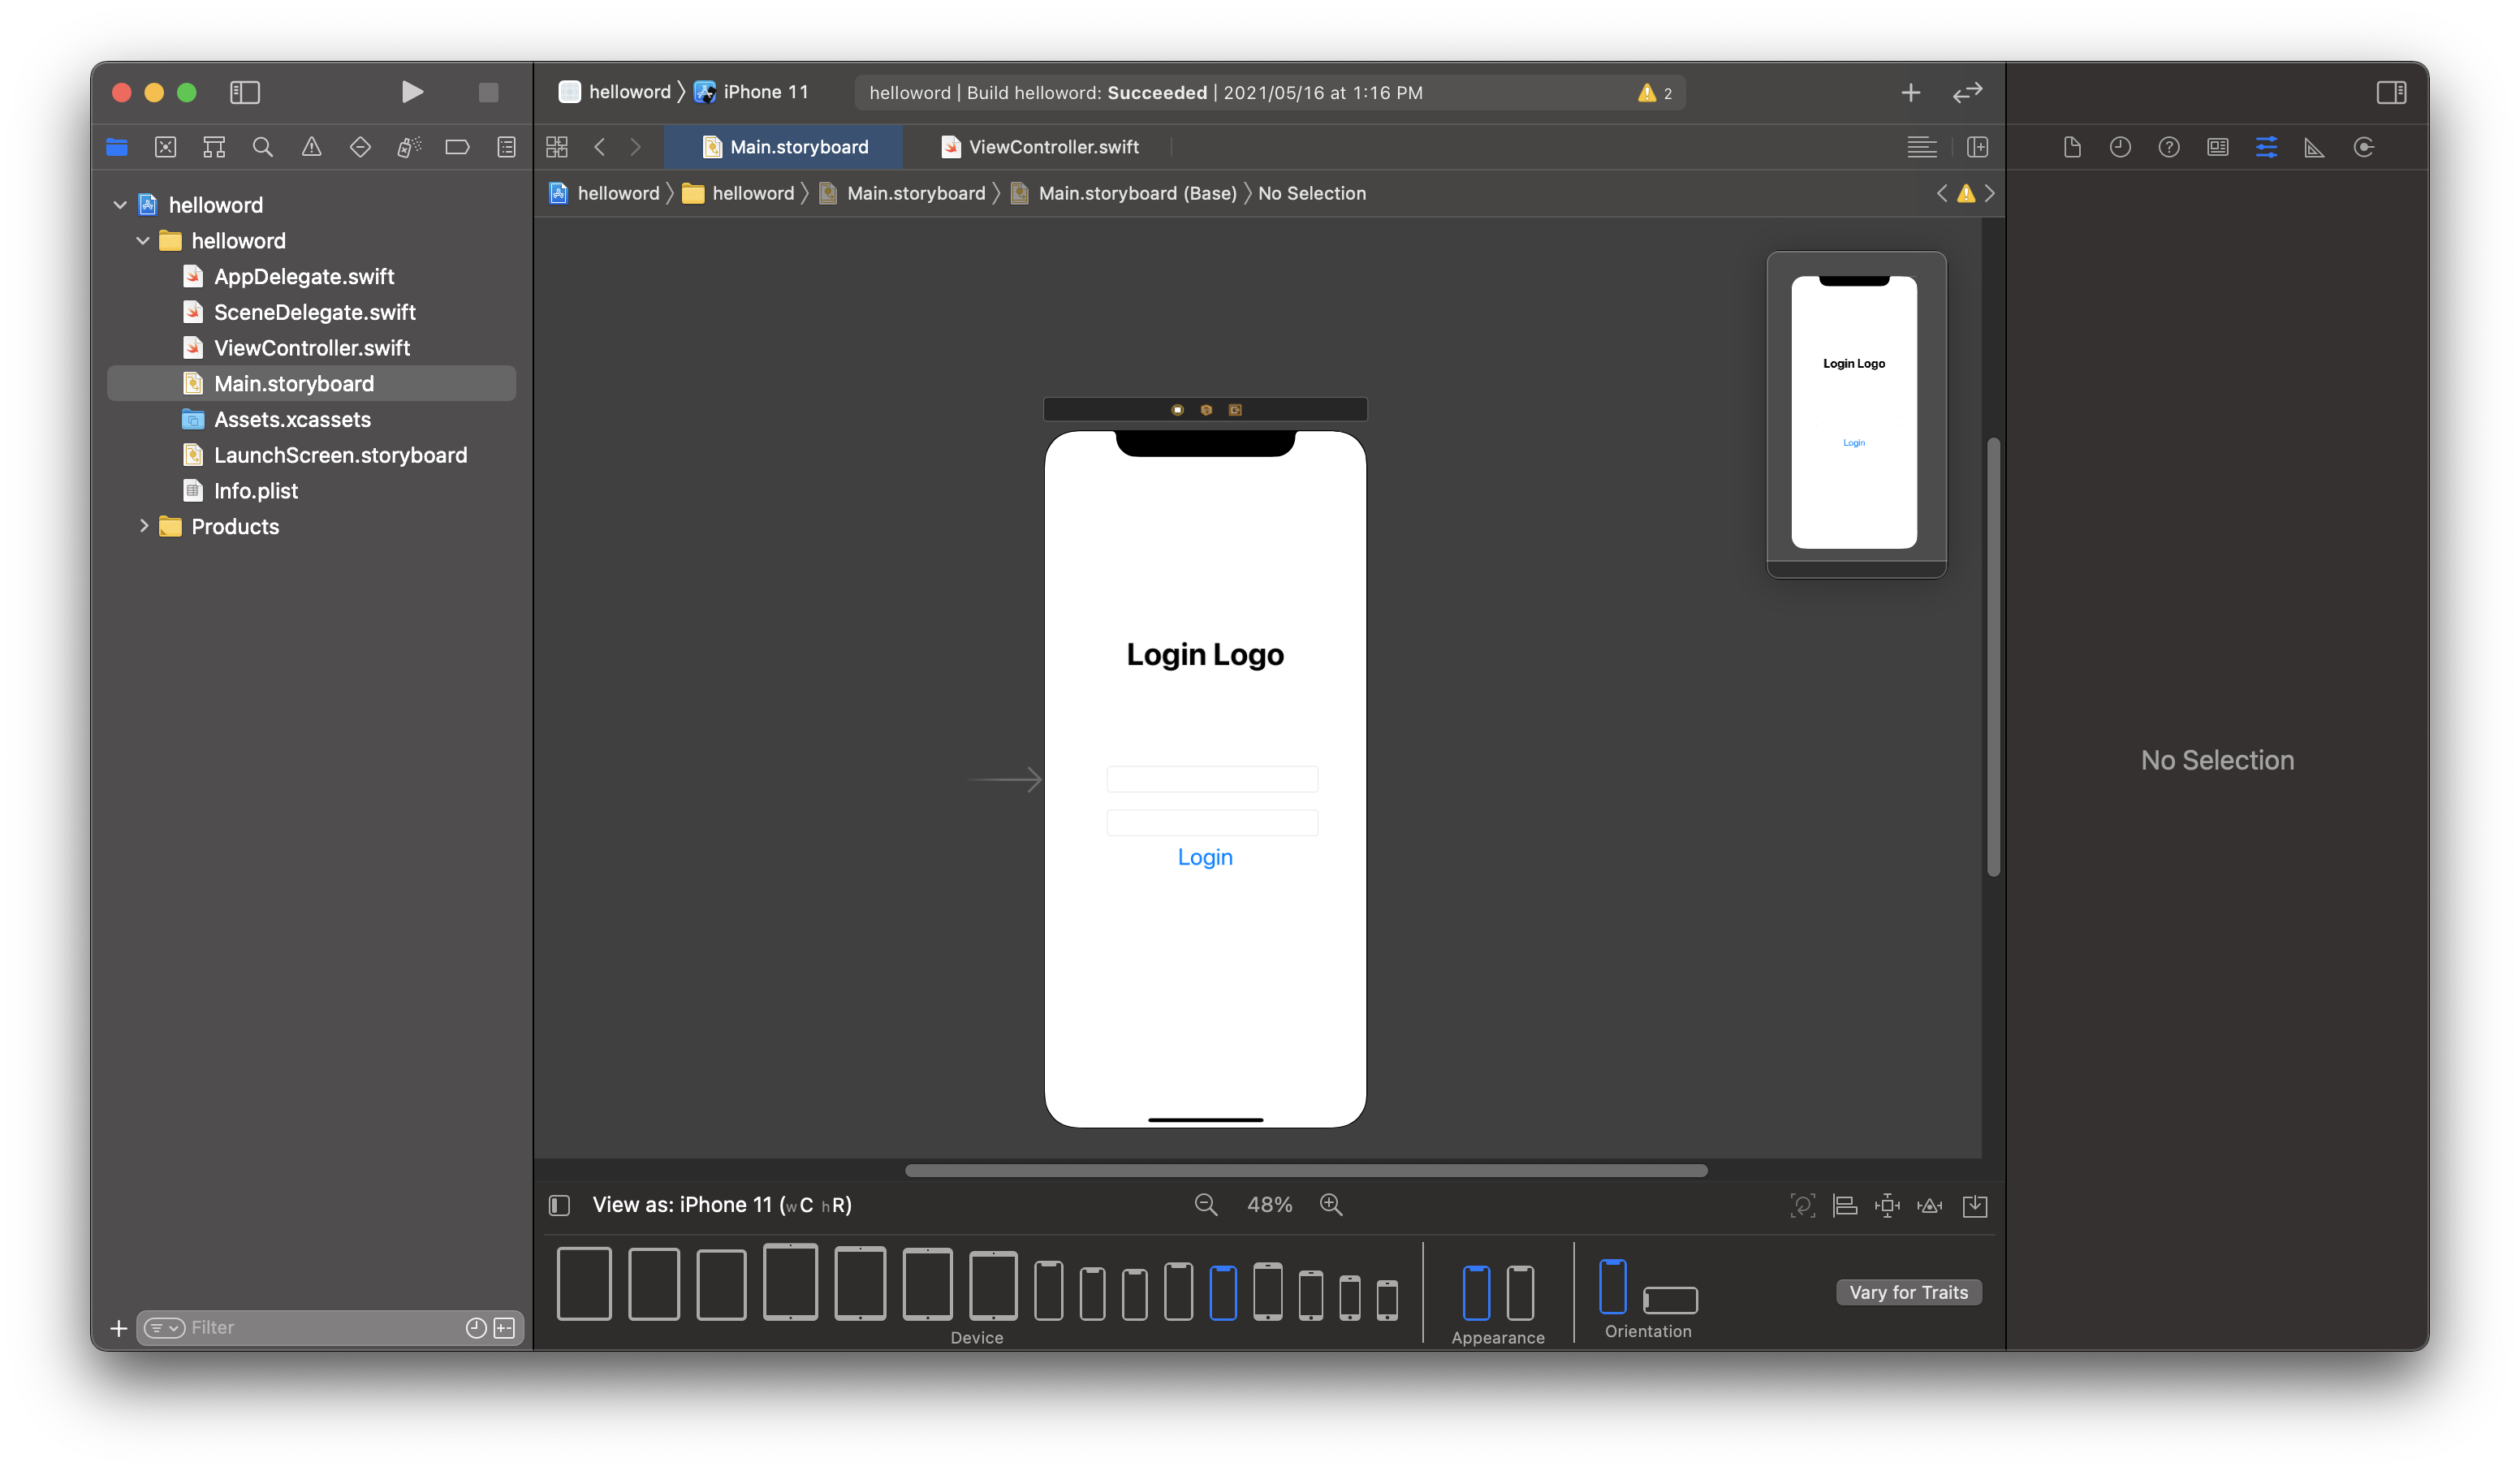
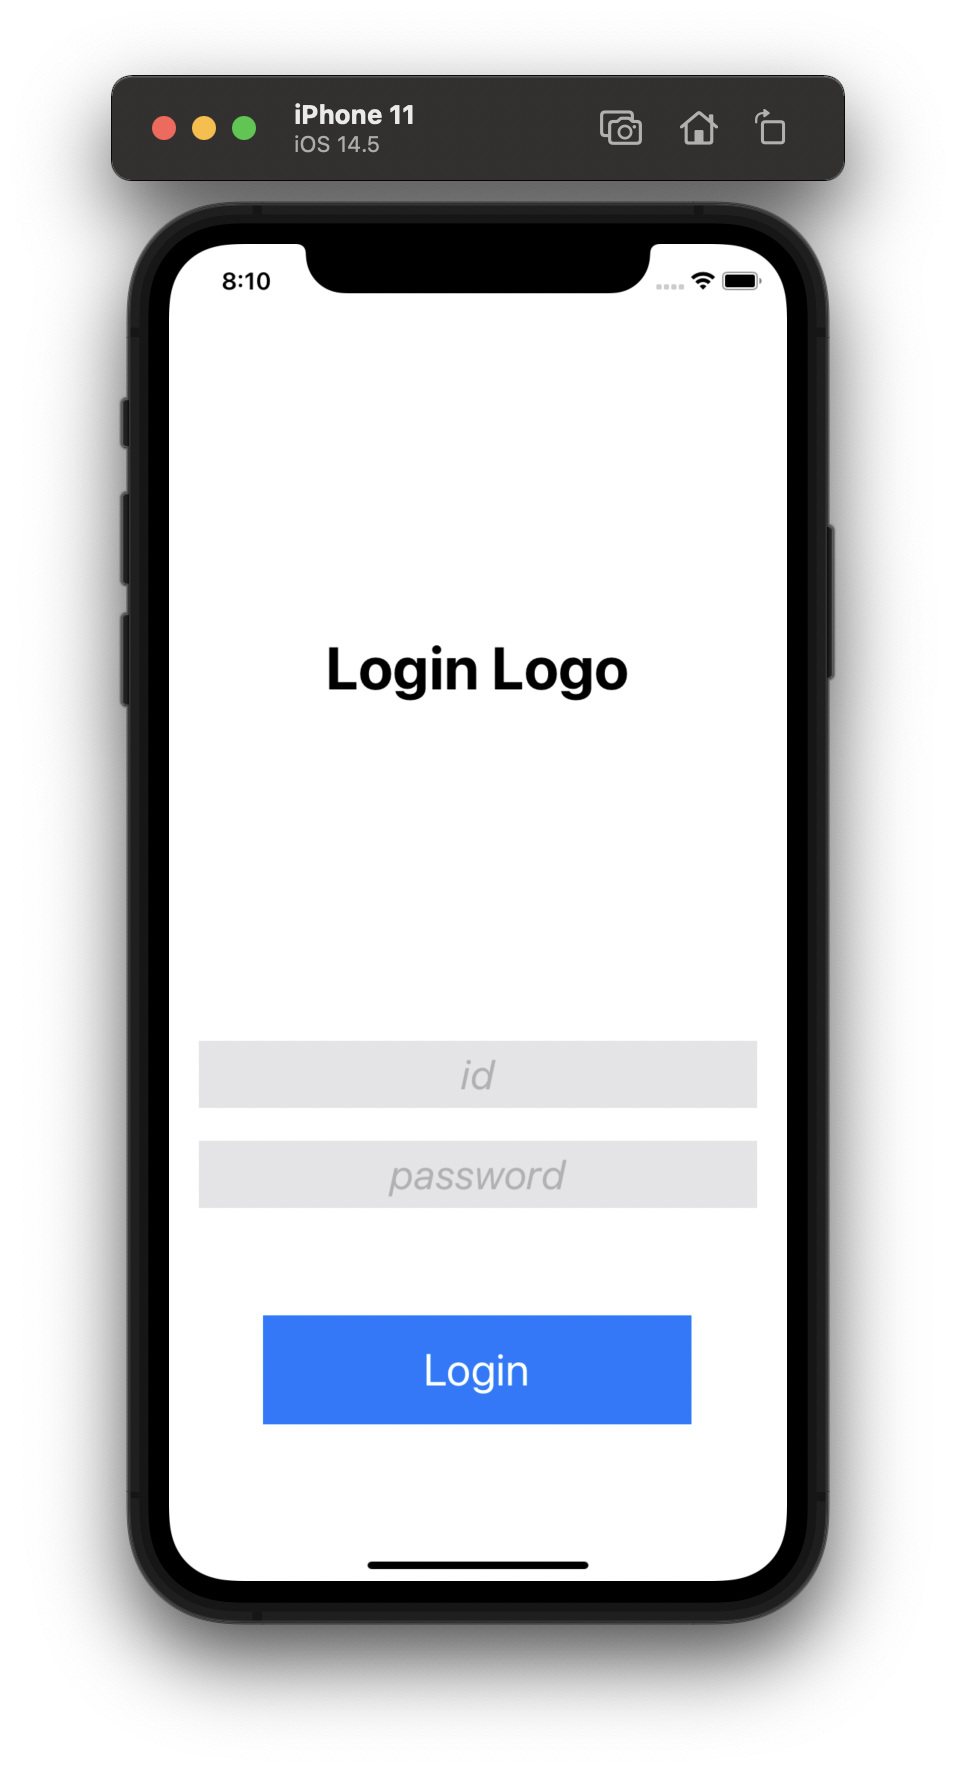
1. 로그인 화면 구현
우선 기본적으로 id, passwd 를 입력할 텍스트 필드를 만들어주고 아웃렛 변수까지 연결해주기
방법은 이 전 장을 참고하려 만듬
[2일차]
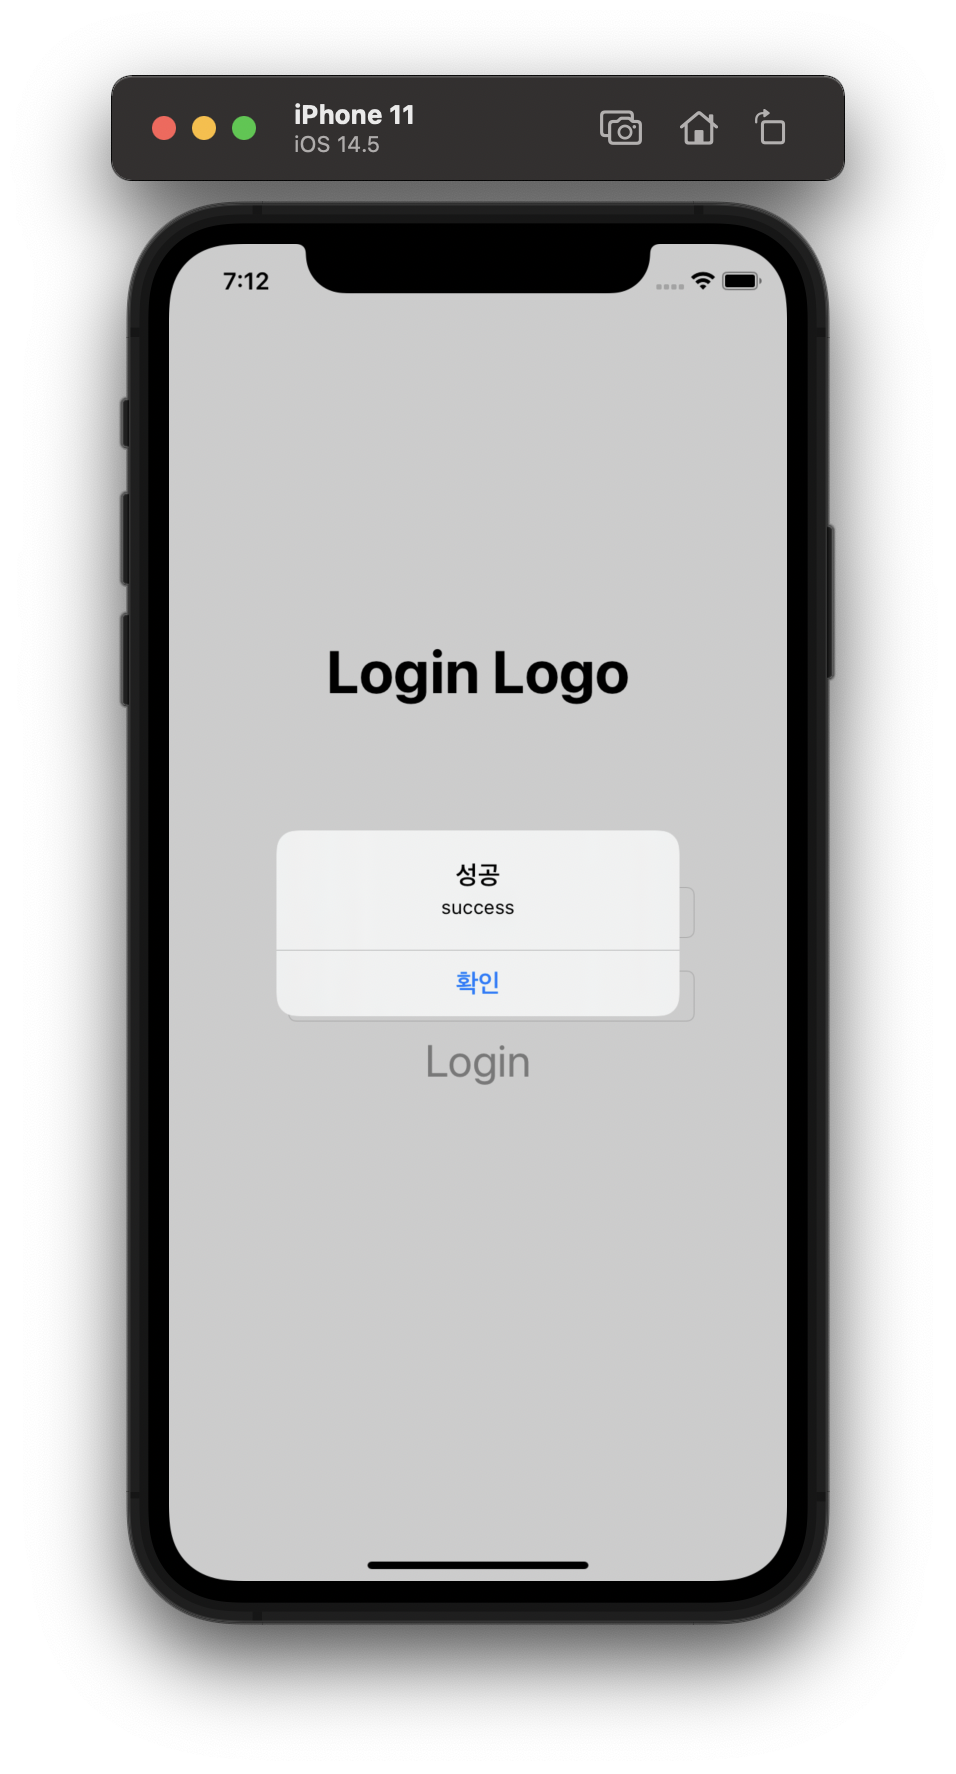
2. 알람창 띄우기 (alert)
로그인 버튼을 눌렀을 때, 1111 / 1111 이면 로그인 success, 아니면 failed 를 띄우기
웹/모바일 개발자라면 다들 알람창 -> alert 기능이란거 아시잖아요
alert 에는 actionsheet 와 기본적인 alert 가 있음.
actionsheet 는 아이폰 화면의 하단부에 나타나는 창이고, alert는 중앙 화면에 띄우는 것이라고 이해함
이건 alert 설정 시 preferredStyle 에서 설정해 줄 수 있음
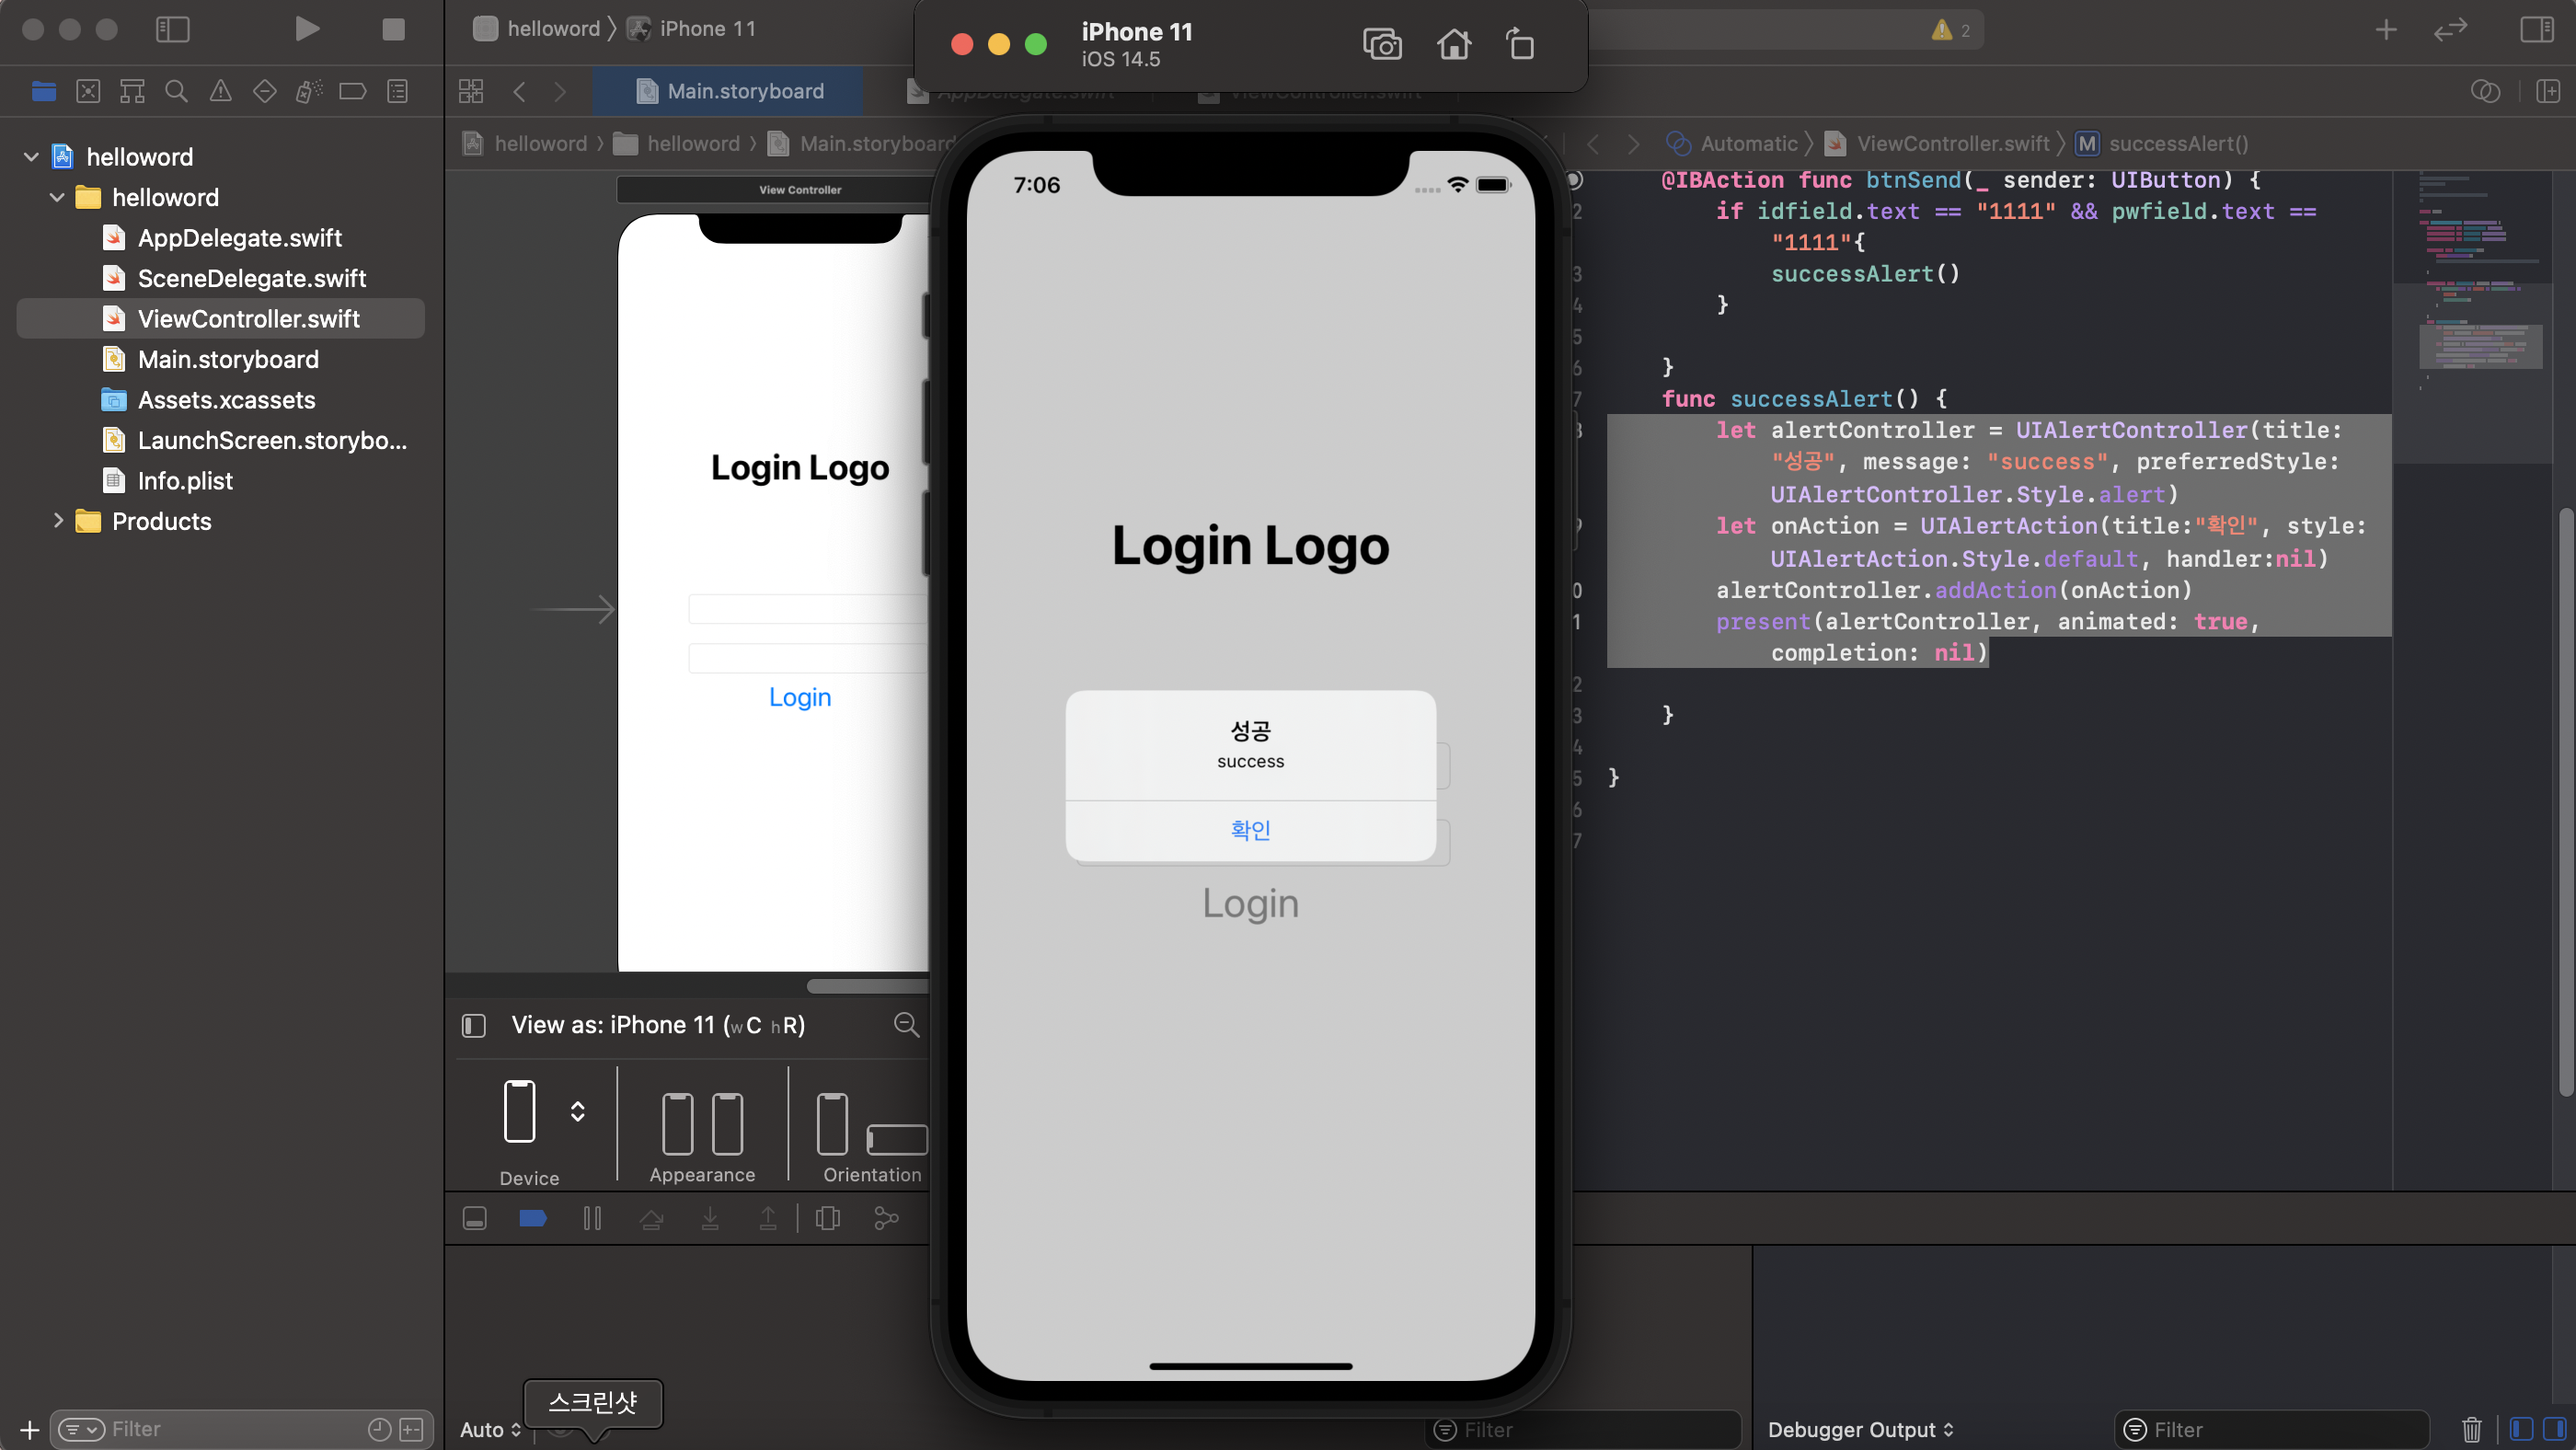
우선 간단하게 alert 기능만 사용해 볼게요
let alertController = UIAlertController(title: "성공", message: "success", preferredStyle: UIAlertController.Style.alert)
let onAction = UIAlertAction(title:"확인", style: UIAlertAction.Style.default, handler:nil)
alertController.addAction(onAction)
present(alertController, animated: true, completion: nil)
1) alertController 객체를 만들어서, UIAlertController 를 만들어 줌
title : 알람창 위의 제목
message : 알람창 내용
preferredStyle : 알람창 스타일 (alert, actionsheet 가 있는 거 같음)
2) onAction 객체를 만들어서 alert 알림창에서 수행할 버튼을 만들어 줌
title : alert 에 추가할 버튼 제목
style : cancel / default / deructive 가 있음
- cancel 과 default 는 알람 화면 종료로 같은 기능이지만, cancel 쪽 화면이 글자가 굵음
(왼쪽이 cancel, 오른쪽이 default 같은데 솔직히 큰 차이를 모르겠음...)

- destructive : 글씨가 빨갛게 나옴

handler : 버튼 클릭 시 수행하려는 기능, 딱히 수행하는 기능이 없을 때에는 nil 을 쓰면 된다.
✓nil
스위프트에는 null이 없고 대신 nil 을 쓴다.
Object 의 부재를 의미. 값의 없는 상태.
Objective-C 에서는 null과 nil이 둘 다 있었지만, swift 에서는 nil 만 있다.
nil의 자세한 사용법은 여기를 참고해서 나중에 정리해야지
3) alertController.addAction 으로 액션을 추가
4) present 함수를 추가하여 화면 위에 띄우는 화면 전환 방식 설정
animated
- Pass true to animate the presentation; otherwise, pass false.
completion :
- The block to execute after the presentation finishes. This block has no return value and takes no parameters. You may specify nil for this parameter.
속성을 잘 모르겠어서 xcode 레퍼런스를 붙여봄
animated 는... presentation 방식으로 수행하면 true , 다른 방식으로 수행하면 false 라는데,,,
completioin 은 presentation 이 끝난 후 반환할 블록
- > 참고 : https://duwjdtn11.tistory.com/520
이건 조금 더 공부하면서 나중에 추가적으로 조사해야할듯ㅠ
아무튼 성공.
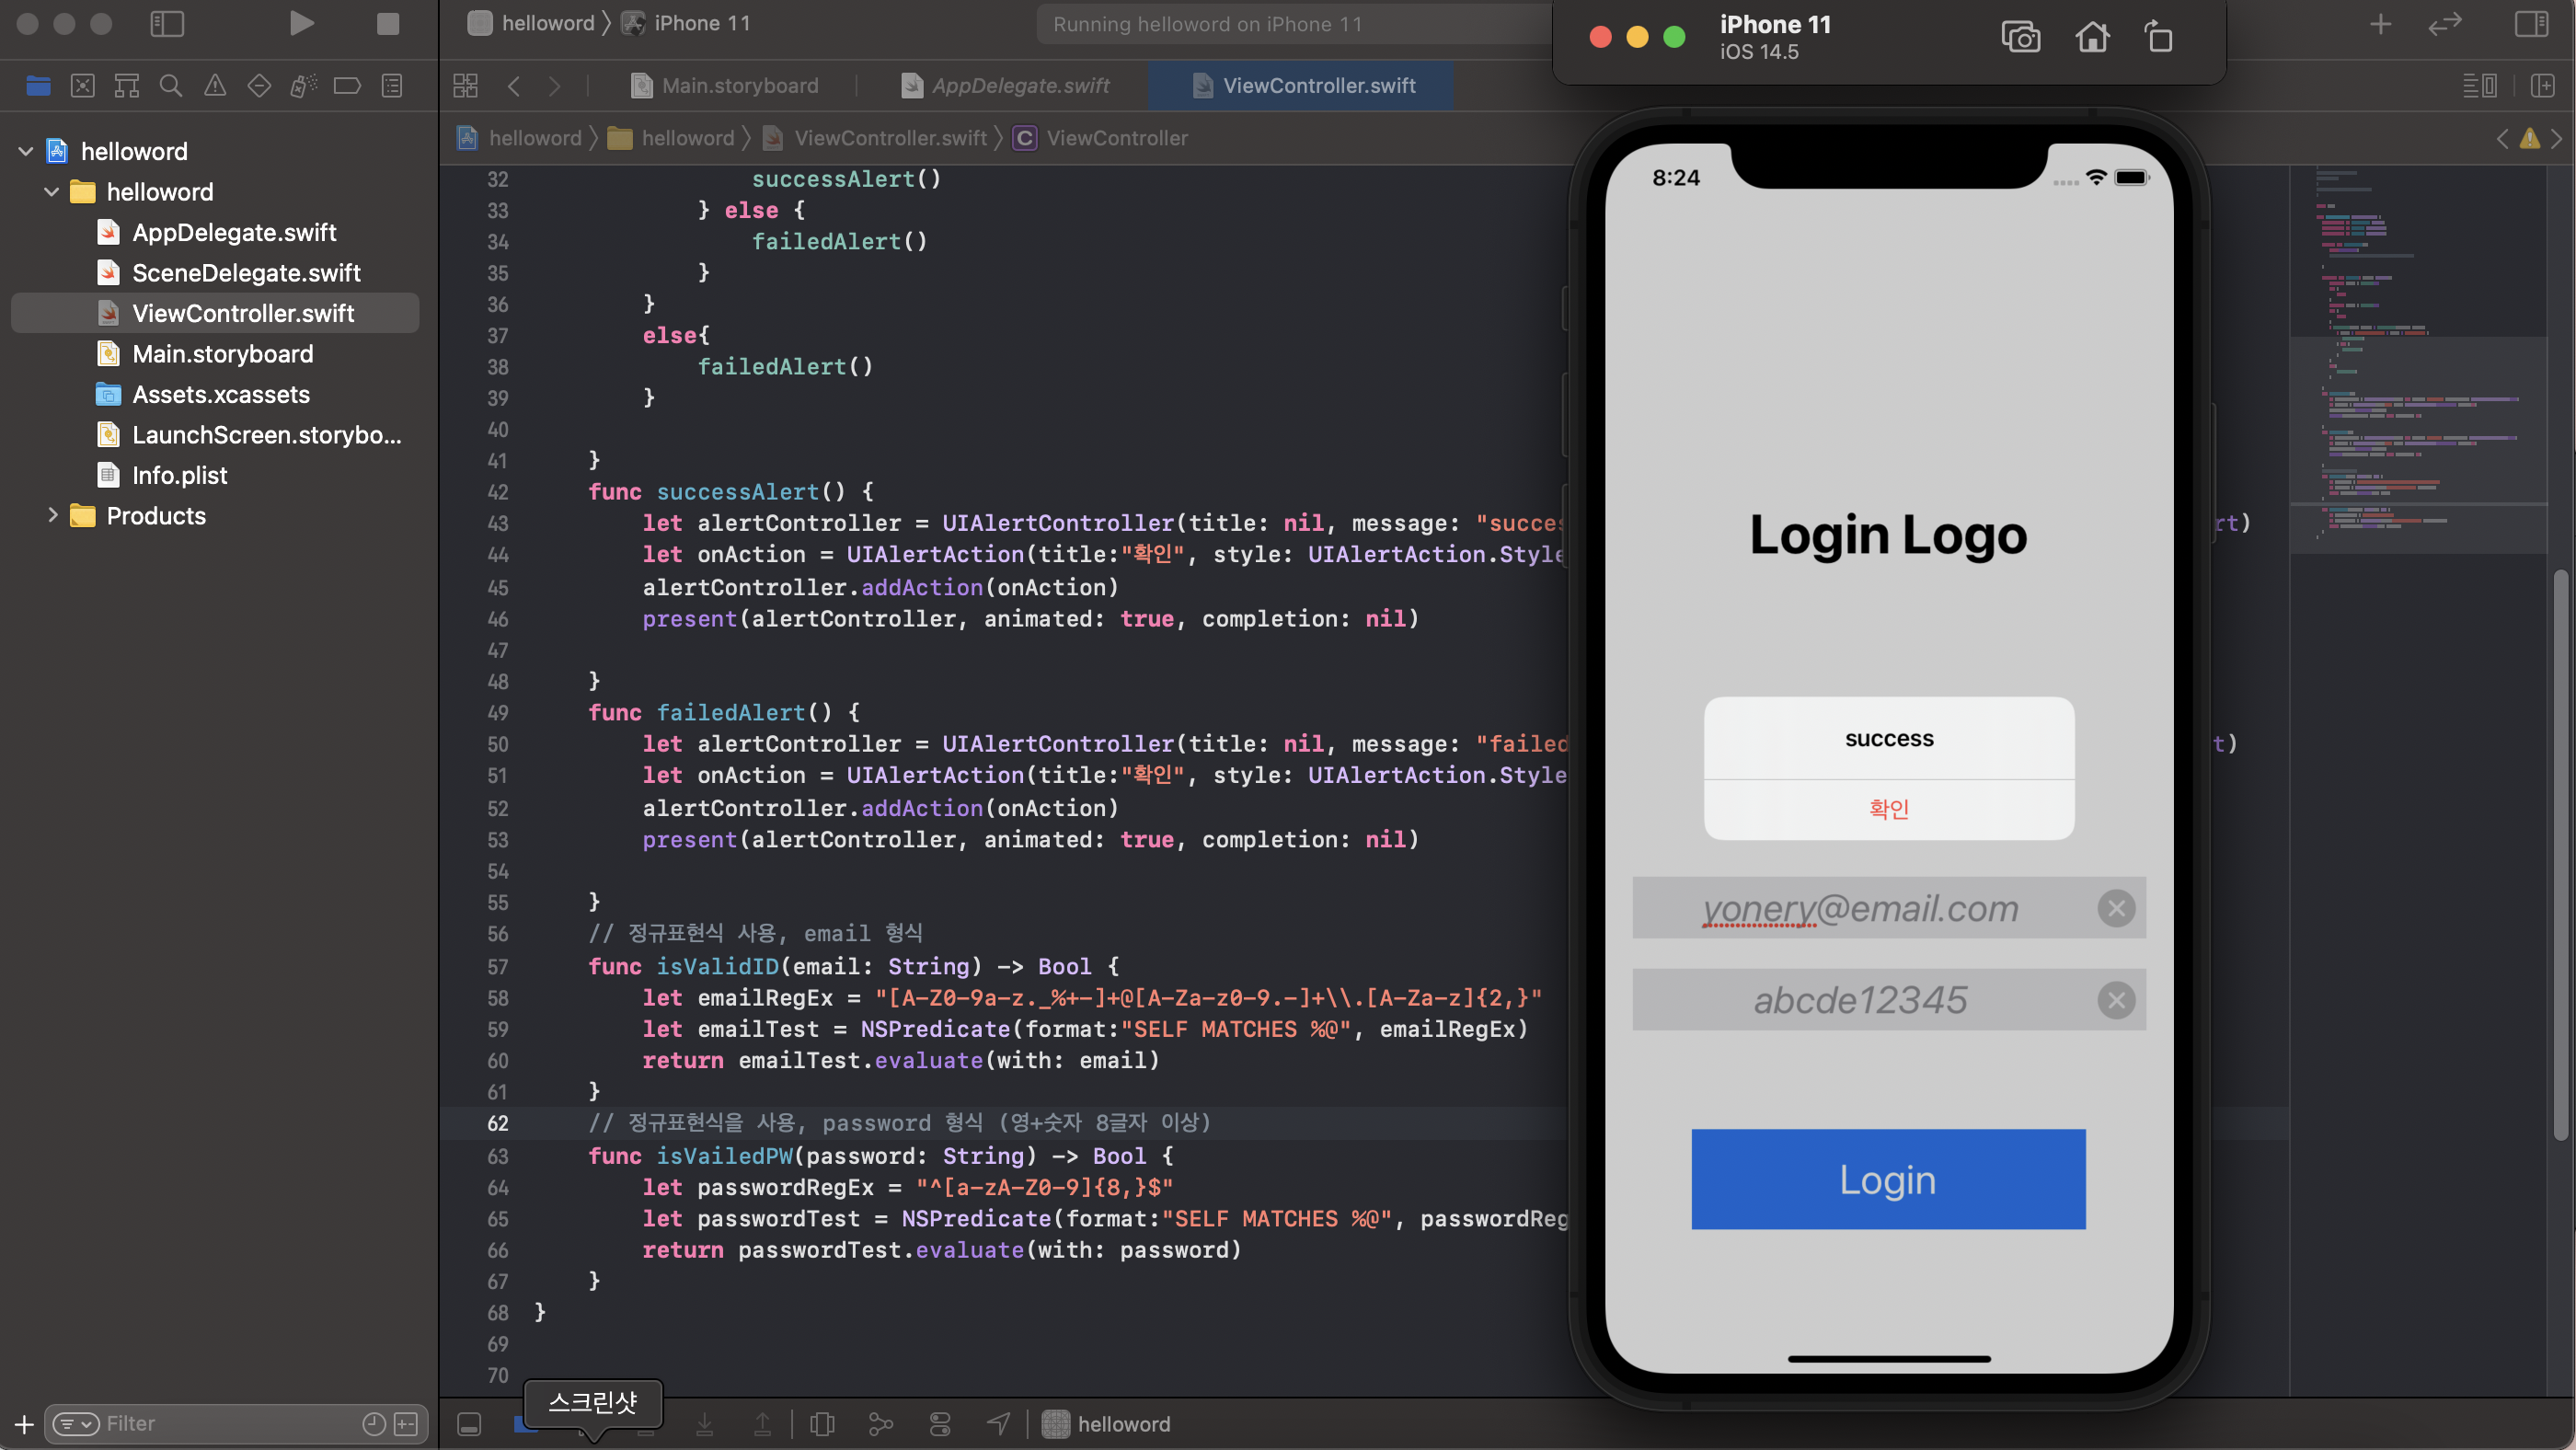
3. ID, password 형식 검사하기
1111 / 1111 은 의미없는 아이디 잖아요
그래서 간단히 if 문으로 이메일 형식인지 아닌지 검사해줍니다.
ViewController.swift
완성된 로그인 UI 화면
import UIKit

class ViewController: UIViewController {
    @IBOutlet weak var loginlabel: UILabel!
    @IBOutlet weak var idfield: UITextField!
    @IBOutlet weak var pwfield: UITextField!

    override func viewDidLoad() {
        super.viewDidLoad()
        // Do any additional setup after loading the view.

    }

    @IBAction func btnSend(_ sender: UIButton) {
        guard let idText = idfield.text
        else {
            return
        }
        guard let pwtext = pwfield.text
        else {
            return
        }
        if isValidID(email: idText) && isVailedPW(password: pwtext) {
            if idText == "yonery@email.com" && pwtext == "abcde12345" {
                successAlert()
            } else {
                failedAlert()
            }
        }
        else{
            failedAlert()
        }

    }
    func successAlert() {
        let alertController = UIAlertController(title: nil, message: "success", preferredStyle: UIAlertController.Style.alert)
        let onAction = UIAlertAction(title:"확인", style: UIAlertAction.Style.destructive, handler:nil)
        alertController.addAction(onAction)
        present(alertController, animated: true, completion: nil)

    }
    func failedAlert() {
        let alertController = UIAlertController(title: nil, message: "failed", preferredStyle: UIAlertController.Style.alert)
        let onAction = UIAlertAction(title:"확인", style: UIAlertAction.Style.destructive, handler:nil)
        alertController.addAction(onAction)
        present(alertController, animated: true, completion: nil)

    }
    // 정규표현식 사용, email 형식
    func isValidID(email: String) -> Bool {
        let emailRegEx = "[A-Z0-9a-z._%+-]+@[A-Za-z0-9.-]+\\.[A-Za-z]{2,}"
        let emailTest = NSPredicate(format:"SELF MATCHES %@", emailRegEx)
        return emailTest.evaluate(with: email)
    }
    // 정규표현식을 사용, password 형식 (영+숫자 8글자 이상)
    func isVailedPW(password: String) -> Bool {
        let passwordRegEx = "^[a-zA-Z0-9]{8,}$"
        let passwordTest = NSPredicate(format:"SELF MATCHES %@", passwordRegEx)
        return passwordTest.evaluate(with: password)
    }
}
4. UI 객체 커스텀 하기
attribute inspector 로 버튼, 텍스트필드, 라벨의 스타일을 커스텀 할 수 있다.
중간에 Not Applicable 이 떠서 잠깐 당황했지만 껐다 켜니 다시 화면이 뜬다. xcode 버그라는 사람들도 있고, 왜 그럴까...
-> 참고는 여기 : https://stackoverflow.com/questions/30259861/xcode-right-pane-utilities-pane-not-applicable

이렇게 텍스트 필드의 attribute inspector 를 오른쪽에 띄워준다.
하나는 중앙 정렬, 하나는 왼쪽 정렬인게 꼴보기 싫었음
스타일을 맞춰준다.
color : 글자 색상
Font : 글씨체, 크기, 글씨 스타일 설정
aliment : 텍스트 정렬
placeholder : 글자를 치기 전에 미리 세팅 된 안내 글씨
backgrount : 텍스트필드 배경 색 혹은 배경 이미지 설정
disabled: ??
border Style : 외곽선 스타일 설정
Clear Button : 입력 내용 전체 지우기 버튼을 만들지 말지 (유용)
+ placeholder 글씨 색상 바꾸기 :
https://jiyeonlab.tistory.com/14
이를 적용하면 짜잔.
색상과 글자 크기를 커스텀 해주니 그제야 좀 볼만해졌습니다.
logo 에는 logo 이미지를 띄우면 되고~_~
✓ xcode 자동 줄맞춤 단축키 : Control + i
본 게시글은 IOS 입문자의 독학 과정입니다.
고수 분들의 많은 조언 및 지적 감사합니다.
'IOS 개발자 입성기' 카테고리의 다른 글
| 맥북으로 깃허브 사용하기 (0) | 2021.05.30 |
|---|---|
| IOS 앱 개발하기 - 3일차 : 화면 전환, present 함수 (0) | 2021.05.29 |
| IOS 앱 개발하기 - 2일차 : 버튼 연결, 텍스트 입력받기 (0) | 2021.05.15 |
| IOS 앱 개발하기 - 1일차 : 프로젝트 구성 파일, 시뮬레이터 빌드 성공 (0) | 2021.05.15 |
| IOS 앱 개발하기 - 1일차 : Xcode 다운로드, 개발자 등록, 프로젝트 생성 (0) | 2021.05.15 |


